2021.10.25
Highlight for this release is Linking and Caching, and is part 3 out of 4 of the new Markers.
- ADDED Solver Linking Run two or more solvers together as one
- ADDED Solver Caching Run once and update on-demand
- ADDED Marker Limits On par with the previous constraints, but much easier to work with
- ADDED Marker Constraints Including Soft Pin!
- ADDED Cascading Attributes Control an entire simulation from one spot
- ADDED Recording Performance A bit faster recording
Showcase
Let's start these notes with some examples of what you can do with all of the new features added. 🥰
Best Friends, No Matter What
Two referenced characters, their solvers linked.
Hang On!
The new Distance Constraint at work.
Dance Baby!
The new Pin Constraint working alongside a Distance Constraint and regular old pose matching.
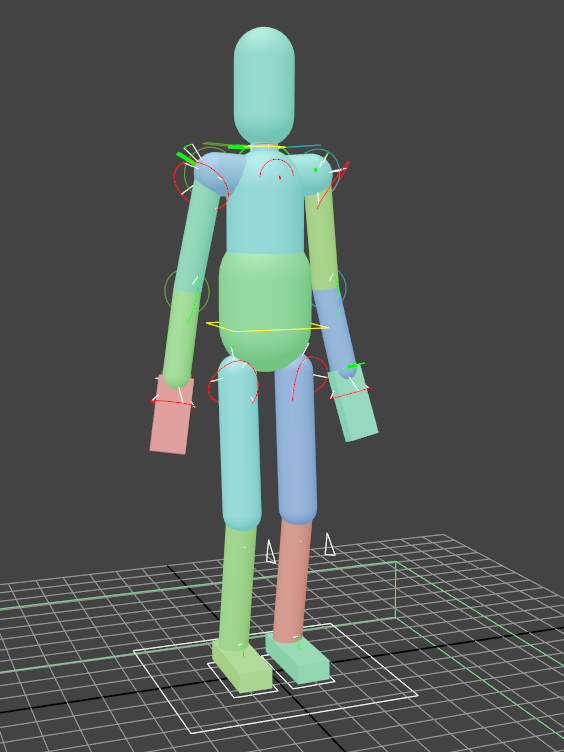
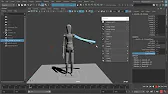
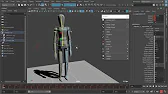
Manikin Rig
Updated with limits from this release.
As before, this guy can either be opened or referenced into your scene. See Solver Linking for how you can reference multiple characters into the same simulation.
New Tutorials
Markers have one part left before being considered complete, at which point they can completely succeed Active Rigid and Active Chain.
Until then, here's how you can get started with Markers today.
| Tutorial | Duration | Description | |
|---|---|---|---|
 |
01:23 | What are markers? | |
 |
03:23 | Overview of Input Type and Pose Space | |
 |
03:00 | Overview of the two Pose Spaces, local and world | |
 |
02:27 | The very basics or Capture and Record | |
|
02:21 | Animation layers | |
 |
04:08 | Hierarchy and volume | |
 |
04:05 | Kinematic and animation | |
 |
04:30 | Self collisions and recording | |
 |
03:00 | Capturing the skeleton | |
 |
01:59 | Retargeting to IK controls | |
 |
01:59 | Record both Translation and Rotation | |
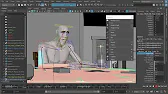 |
06:53 | Fix table and elbow intersection in this dialog performance |
Solver Linking
Reference two characters, link their solvers.
Until now, you've been able to author physics using Active Chain and combine scenes using the Combine Scene menu item. That would transfer all connected rigids from one scene to another.
But, that feature is destructive. There's no way to "uncombine" and even if you could, there's no record of what was originally combined.
Let me introduce Solver Linking, a lightweight and non-destructive alternative.
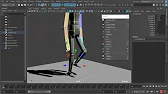
Linking
This fellow is referenced twice, and get their solvers linked together.
Unlinking
Unlinking restores their previous behavior exactly.
That's neat, but can you..
I know exactly what you're thinking, I was thinking the same thing.
Can you link a solver to another solver that is also linked? So that I can build a network of simple solvers that all work together to form one complex solver?
Yes. Yes, you can. 🤭 See below.
Example
Here are 2 assets, a manikin and a backpack.
| Manikin | Backback |
|---|---|
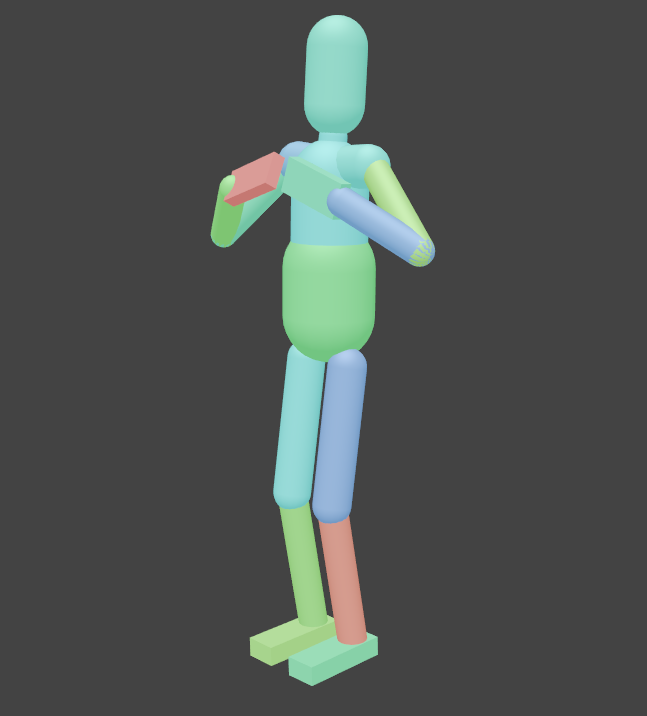 |
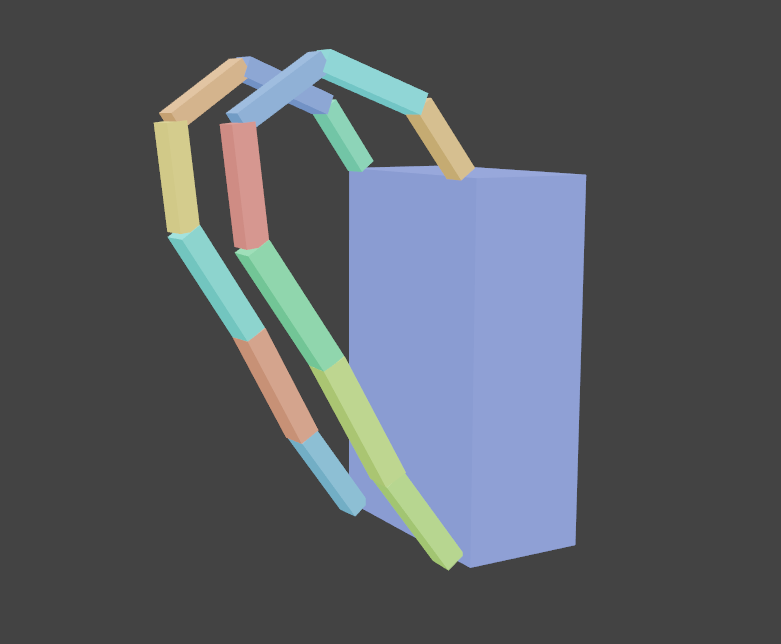 |
The backback and manikin has been combined into one, which is then referenced twice into the final scene for a total of 4 unique solvers.
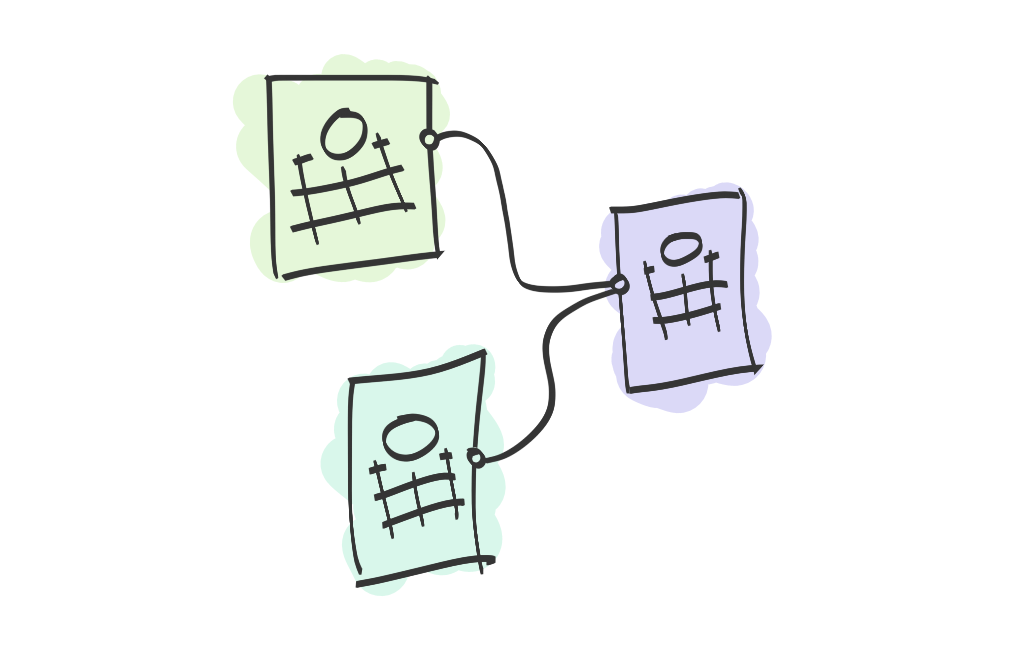
Non-destructively link solvers
Notice the hierarchy of solvers formed here, enabling you to build complex solvers out of many small solvers.
Non-destructively unlinking too
Likewise, safely deconstruct a network of solvers by just removing the connection.
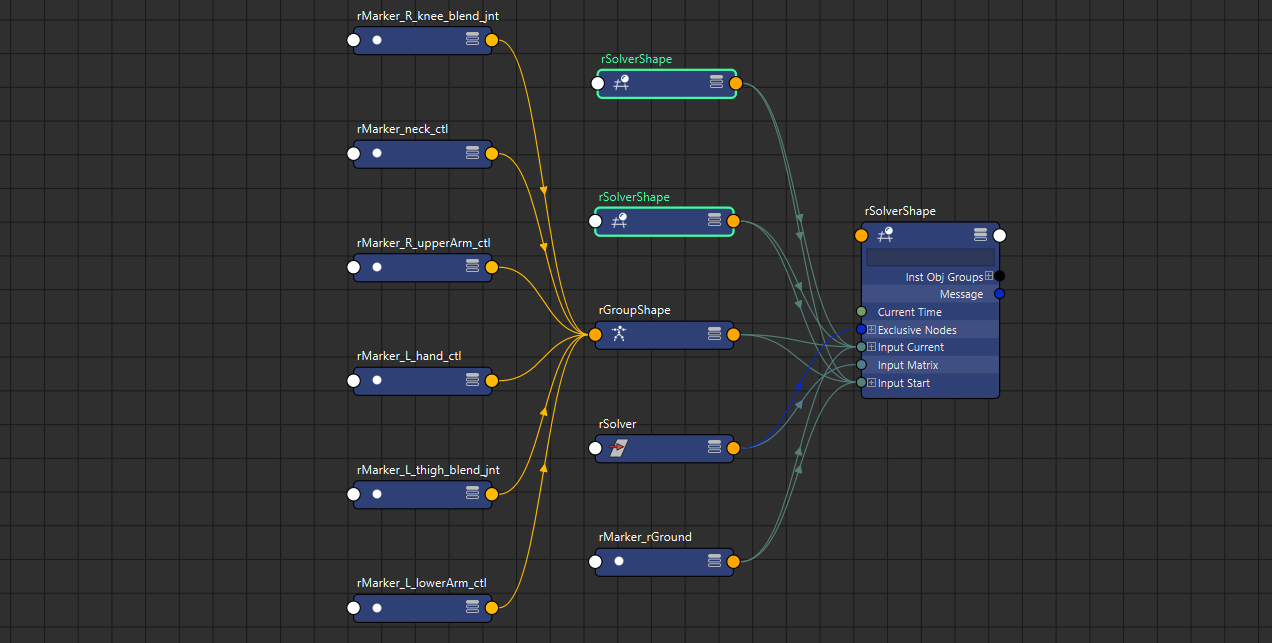
Technically, a solver is added to another solver in the same manner a marker, group and constraint is added. One big happy family.
Solver Caching
Ragdoll runs alongside your character animation, but sometimes it can be useful to keep the results from a previous run and stop being so interactive.
Meet Cache and Uncache.
Caching is entirely non-destructive, and in fact leverages the very same cache you've been enjoying all this time whenever rewinding.
The menu commands toggle an attribute on your solver node, called .cache and automatically plays the entire timeline for you. But the same result can be achieved by setting the attribute and playing it yourself.
The minimal HUD will show you what's been cached, and like before once you resume playback from a cached to an uncached frame, Ragdoll will continue filling up the cache as one would expect.
Look forward to a future release where caching happens in the background, as you work. Something that can also be handy from time to time (pun!).
Limitations
The viewport HUD currently draws relative the solver node in your Outliner. Moving this node also moves the HUD, which isn't right. Moving it along the Z-axis can actually cause the HUD to vanish due to being outside of the camera frustrum.
Other than that, if you encounter odd behavior let me know. This should work just fine in all cases where Ragdoll works, since the underlying mechanics are the same.
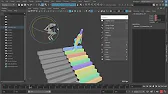
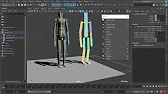
Marker Limits
Markers now support the limits you've grown accustomed to from chains and constraints. They are much easier to work with, now that they are built-in to each marker and have an understanding for what a "parent" is.
You should find a lot less need to use Edit Pivots from here on, and in the next release you'll also get some interactive manipulators to avoid the Channel Box even more.
Limit Type
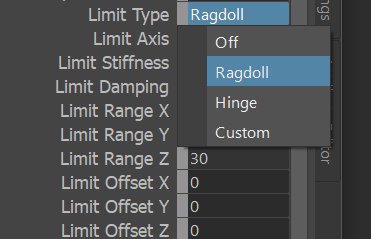
Hinge Limit
The simplest of limits, allow a limb to rotate along a single axis. Like hinges on a door.
Use this for knees and elbows.
Ragdoll Limit
For more complex anatomical limits, such as shoulders and hips, use the "ragdoll" limit for control over each of the 3 rotate axes.
Defaults
A good place to start is to just play with default settings and get an idea of what it looks like.
Customise
In this case, we'll keep the leg from crossing over too far, and from bending too far backwards. Like a real human leg.
Custom Limit
The Hinge and Ragdoll limits should cover the vast majority of limit needs, but sometimes you need more control. The Custom limit lets you control the parent and child frames independently, similar to the "traditional" Rigid constraints let you do.
Here's an example of replicating the Ragdoll constraint with a custom limit.
Axis
Specify the "main" axis for your limit.
Different rigs follow different conventions, and this attribute enables you to keep Ragdoll in the loop. It should typically align with whatever axis your joint or control points in the direction of the child joint or control.
Rotation vs Offset
You can either rotate or offset the limit.
Rotationrotates both parent and child framesOffsetrotates only the parent frame
Remember
The Parent Frame is the space in which a Child Frame is allowed to move.
Marker Constraints
You can now constrain one marker to anothe!
| Constraint Type | Description |
|---|---|
| Weld Constraint | Simplest of constraints, welds two markers together; no change to their distance or relative orientation is allowed. This is akin to the Maya Parent Constraint |
| Distance Constraint | Maintain a minimum, maximum or total distance between two markers. |
| Pin Constraint | Match a position and orientation in worldspace, similar to Drive Space = World. |
Weld
Maintain the position and orientation of one marker relative another from the first frame onwards.
Distance
A simple but versatile constraint with animatable distance.
Maintain Start Distance
Whatever the distance between two markers, it will be maintained throughout a simulation.
Minimum Distance
Alternatively, only respond to when two controls get too close.
Maximum Distance
Conversely, keep markers from getting too far away from each other.
Custom Distance
Or go all-in, with both a minimum and maximum distance, for the most complex behavior.
Offsets
Control at which point on a control to measure the distance.
Animated Distance
Both min and max distance, along with stiffness and damping, can be animated for some pretty rad effects.
Hard Distance
A Stiffness = -1 means the constraint is "hard". It will not accept any slack or "springiness".
In this example, the distance is animated whilst soft, and transitioned into a hard constraint. Notice how it snaps into place once hard.
Limitation
A limitation of a hard constraint is that the distance cannot be animated whilst hard. You can however animate it between values of -1 and above, to transition to and from hard to soft.
Pin
Similar to the Soft Pin used with Rigids, this creates a new position and orientation a marker will try and reach. It's exactly what you get using Guide Space = World on the markers themselves, but with the convenience of a new transform you can animate. They will both try and pull on the marker, greatest stiffness wins!
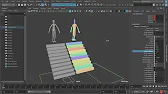
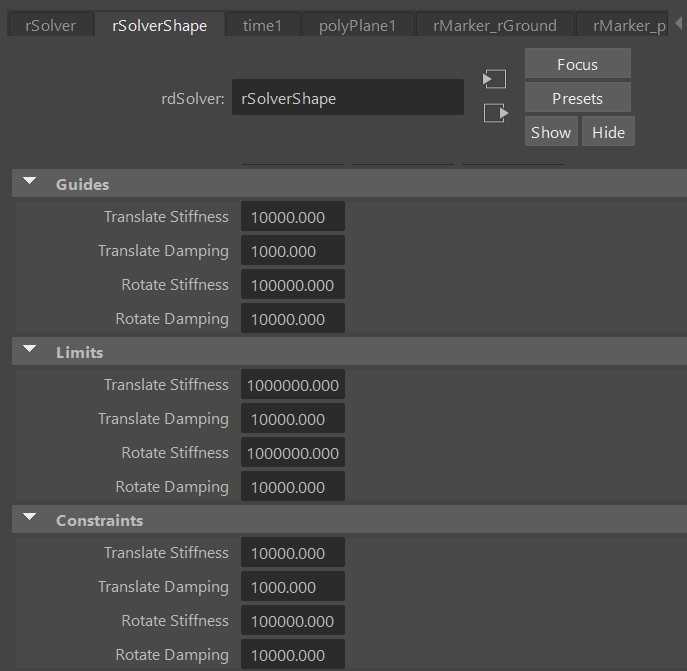
Cascading Attributes
Sometimes, you want to tweak the overall look of an entire simulation at once, rather than tweaking or modifying individual nodes. Now you can.
All guides, limits and constraints now have their values combined with equivalent values on the solver node.
Edit One
Here's how you edit just a single marker or constraint.
Edit Many
And here's how you can edit them all.
Animation
Guides and Constraints can be animated, however Limits cannot.
This behavior is consistent with the rdGroup node too, here's the complete attribute hierarchy.
Recording Performance
A mere 15% boost to Recording performance.
Before
After
More was expected, and odds are there's room to optimise this further. But, the bottleneck is writing keyframes which cannot happen across multiple threads. It also needs to happen alongside evaluating your rig, which is dirtied with setting of each key, else it cannot take into account the various constraints, offset groups and IK solvers happening in there.
On the upside, the more complex your rig, the more benefit you should see from this optimisation. What happens in the above examples are extremely lightweight rigs with no animation, hence the difference is minor.
Remainder
Markers are almost feature complete. Most if not all things you could do with Rigids are now possible with markers.
Except for:
- Forces
- Export & Import
These will be addressed in an upcoming release. The next release will focus on getting those darn shape and limit attributes out of the Channel Box and into the viewport for interactive control.