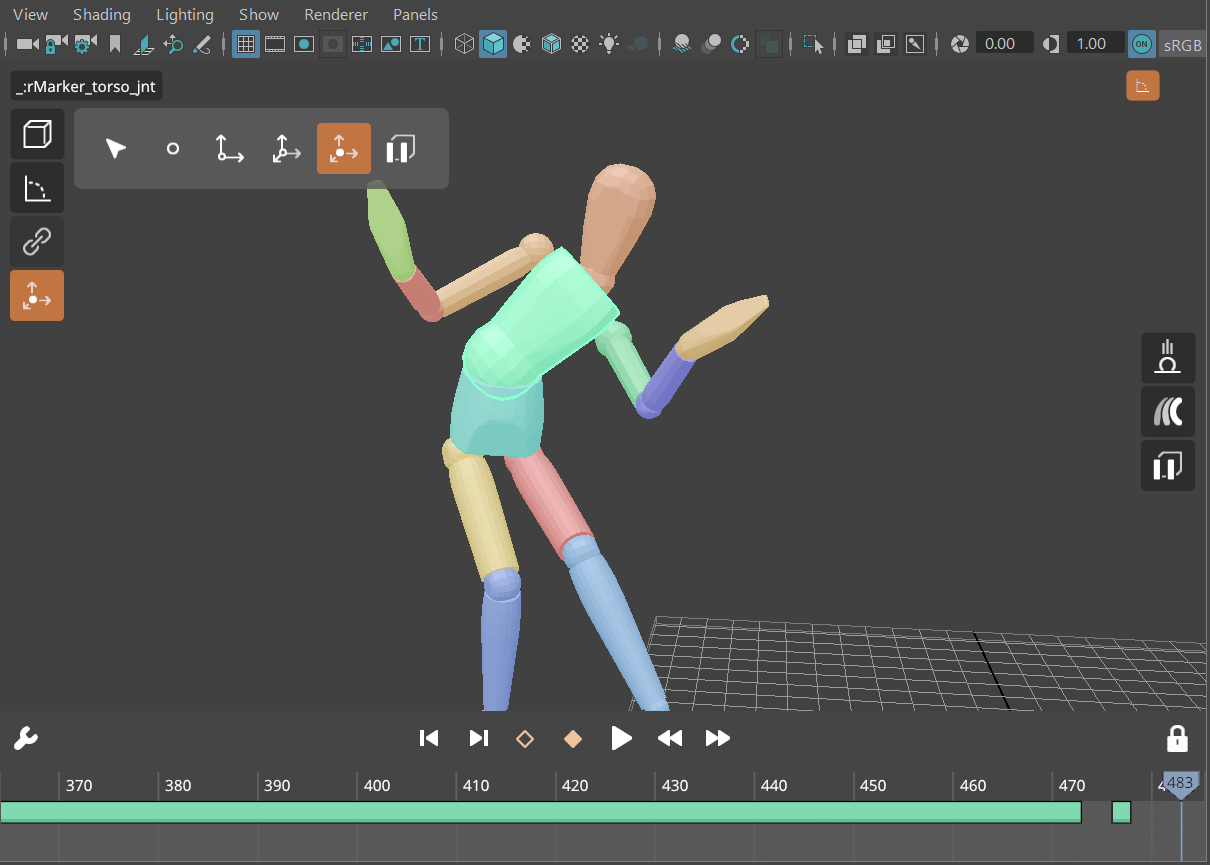
Live Mode
Interact with your simulation in real-time.
Live Mode
Here's "Live Mode" in a nutshell.
Traditional Rig
And here's the equivalent task with the traditional rig.
If you don't make it through all of the 95 seconds that the traditional method takes, I don't blame you. Not only is posing with Live Mode already 3x faster, it also has the following benefits.
- It's fun! You don't see that every day.
- No intersections You don't even have to think about it, like playing with an action figure
- No broken limits That is, skinning and subsequent muscles and cloth are safe
- No controls Your geometry are the controls!
But perhaps most importantly.
- You don't need rigging!
This same workflow applies to plain joint hierarchies, meaning an animator could:
- Import a mesh
- Plot some joints
- Skin mesh
- Assign markers
- Start animating
For example, here's 30 seconds of "rigging" a character from scratch.
And that's where things are going.
Let's have a closer look at what this thing can do today.
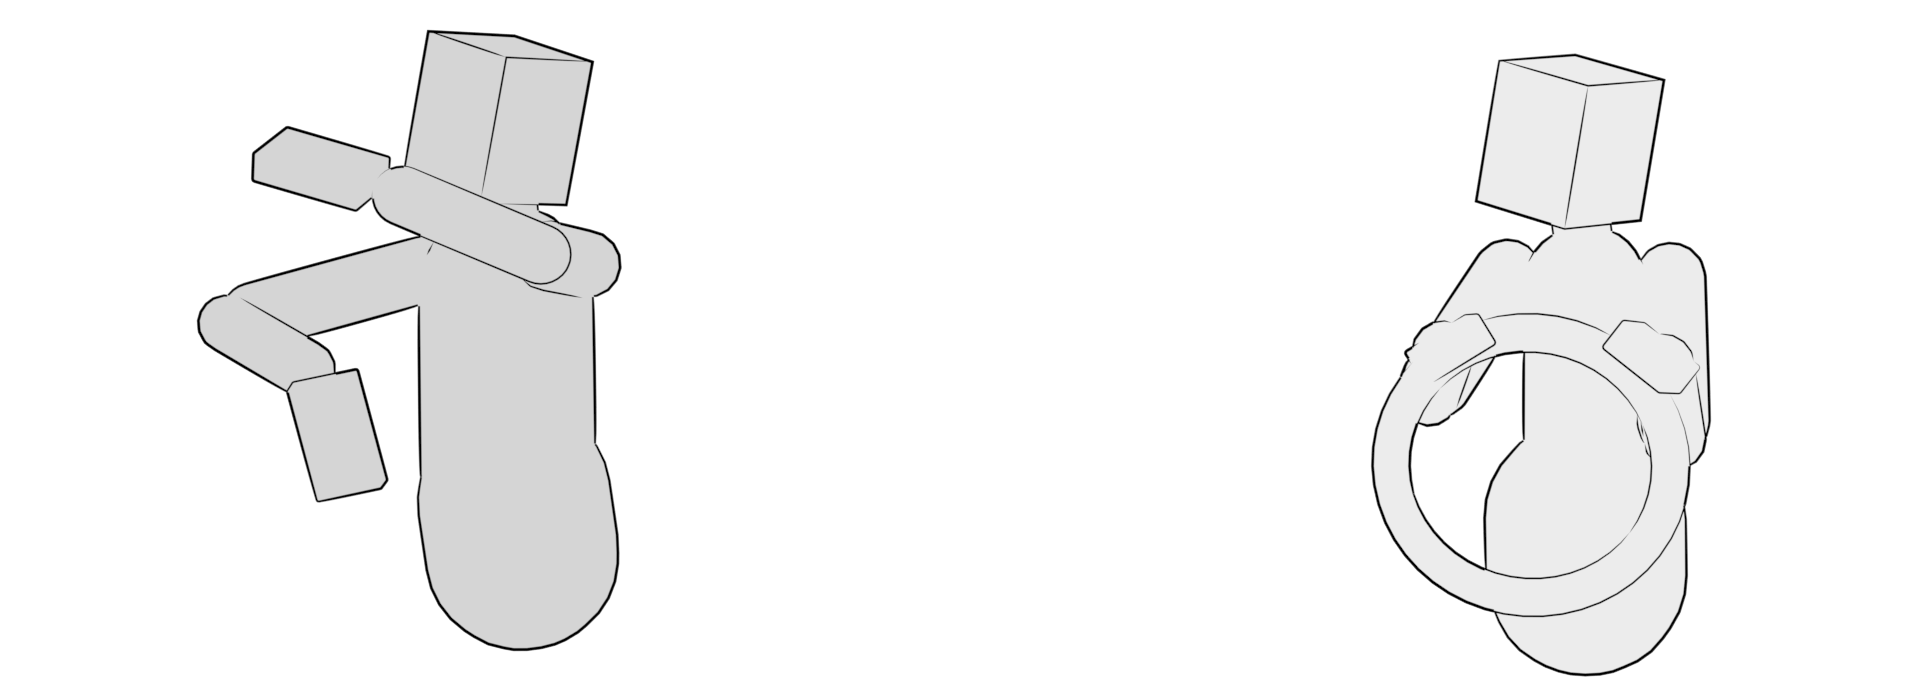
General Posing
Clicking and dragging on any marker will affect it the way you'd expect.
Reset
Exiting out of the mode or changing from the Manipulator to e.g. the Maya Translate tool (W hotkey) will reset the simulation to where it originally started.
Drop Press & Hold
Towards the bottom, you'll find a number buttons, one of which is called Drop. This "drops" the character. In other words, it temporarily enables gravity. This can help ease a character onto the ground or generally relax things that are hovering. It's also fun to play with. 
Drop Toggle
Hold Shift to toggle gravity on, such that you can throw things around! Also fun to play with
Tense Press & Hold
Next up is Tense. This tenses the character.
What's really happening is that it tries to reach whatever pose your rig is in at that time.
Tense Toggle
Like Drop, the Tense button can be toggled, which would leave the character tense.
Mask
Hold Ctrl whilst clicking to "mask" a Marker. This prevents it from moving at all, it's technically turning the Marker into a Kinematic object temporarily.
Pro tip
You can also press Ctrl whilst dragging and release to leave the Marker you are currently dragging in place, for some cool posing mechanic!
Unmask All
Next up is "unmask" which involves "masking" via Ctrl + Clicking on a Marker. It's how you prevent a Marker from moving.
How does it work?
It temporarily turns any marker Kinematic, identical to the Behaviour = Kinematic attribute.
Mask Parent
Hold Shift whilst dragging to isolate the effect to a marker and it's children.
Transfer Pose
The final button is the Transfer button. It's what transfers the simulation back onto your animation controls.
Transfer Toggle
Like Drop and Tense, this button can also be toggled, meaning the pose is transferred as soon as you let go of the mouse cursor.
Animation
And these are the tools you use to animate. 
Visual Undo
The timeline helps you understand where undo will take you.
You can also interact with the timeline, for fine control over where in history you want to go.
Recording Live Mode
Use Live Mode with Cache = Static to enable recording of your interactions!
Interactive Mode
Toggle the Lock button far-right to keep simulating outside of the Manipulator.
This enables you to use Ragdoll as a normal Maya deformer, and see real-time updates on contacts and limb limits.
Here are some more examples!
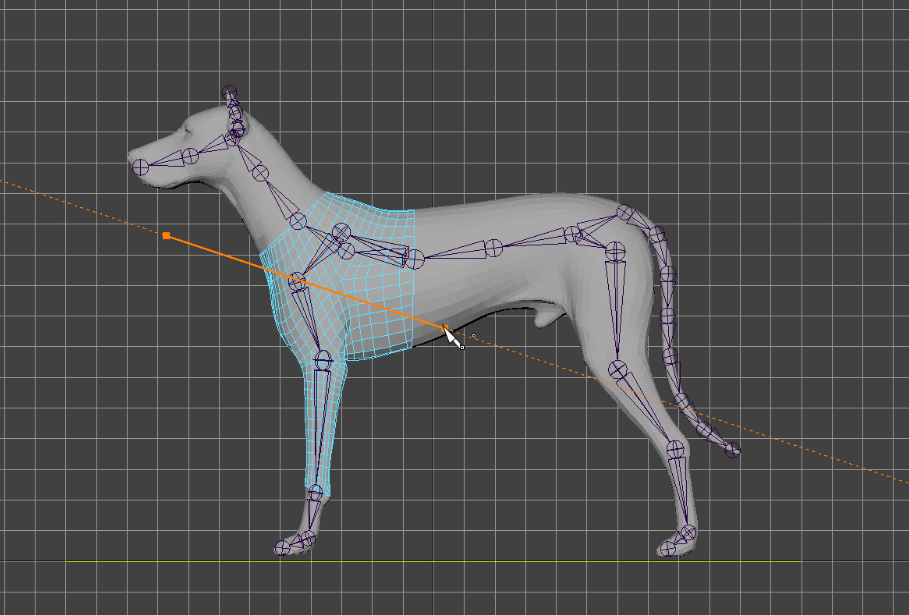
Rigging for Live Mode
In order for your characters to work with Live Mode, you'll need to take a few things into consideration. Primarily that your character has FK controls with the ability to disable space switches and other mechanics that differ from a straightforward parent/child relationship.
- https://youtu.be/fx-BT6eDxDE (4:15 mins)
Rigging with Multi-Cut
A quick tutorial on how to setup a character using Maya's multi-cut, and then export and load this character to assemble it alongside our favourite Manikin!
- https://youtu.be/Si_l8B82c9w (10:06 mins)
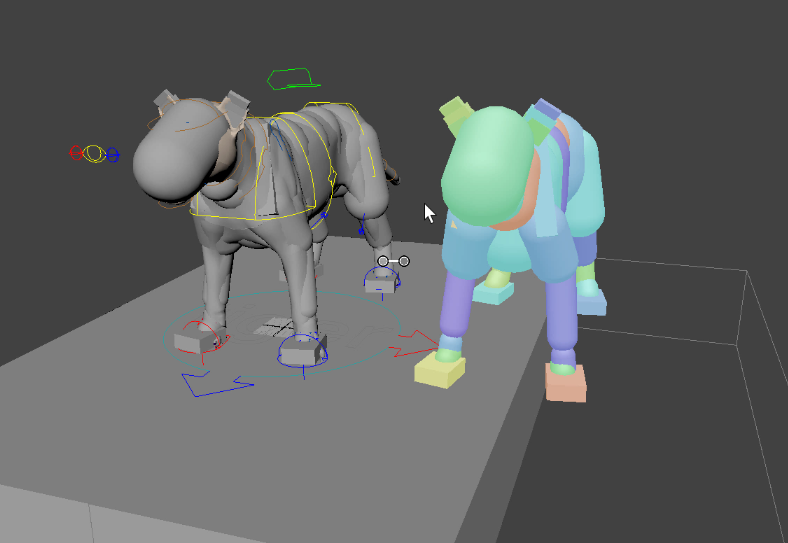
Live Rig and Maya Native Rigs
Here's an example of how you can "trick" Live Mode into working for you with any traditional Maya rig.
- https://youtu.be/kmY5NSmbkZo (5:13 mins)
Experimental Settings
At the bottom-left hand corner of Live Mode, you'll find a set of experimental controls.
Magnet Tuning
Whenever you click and drag, you are dynamically creating and destroying a Pin Constraint. The settings for this Pin Constraint can be customised here.
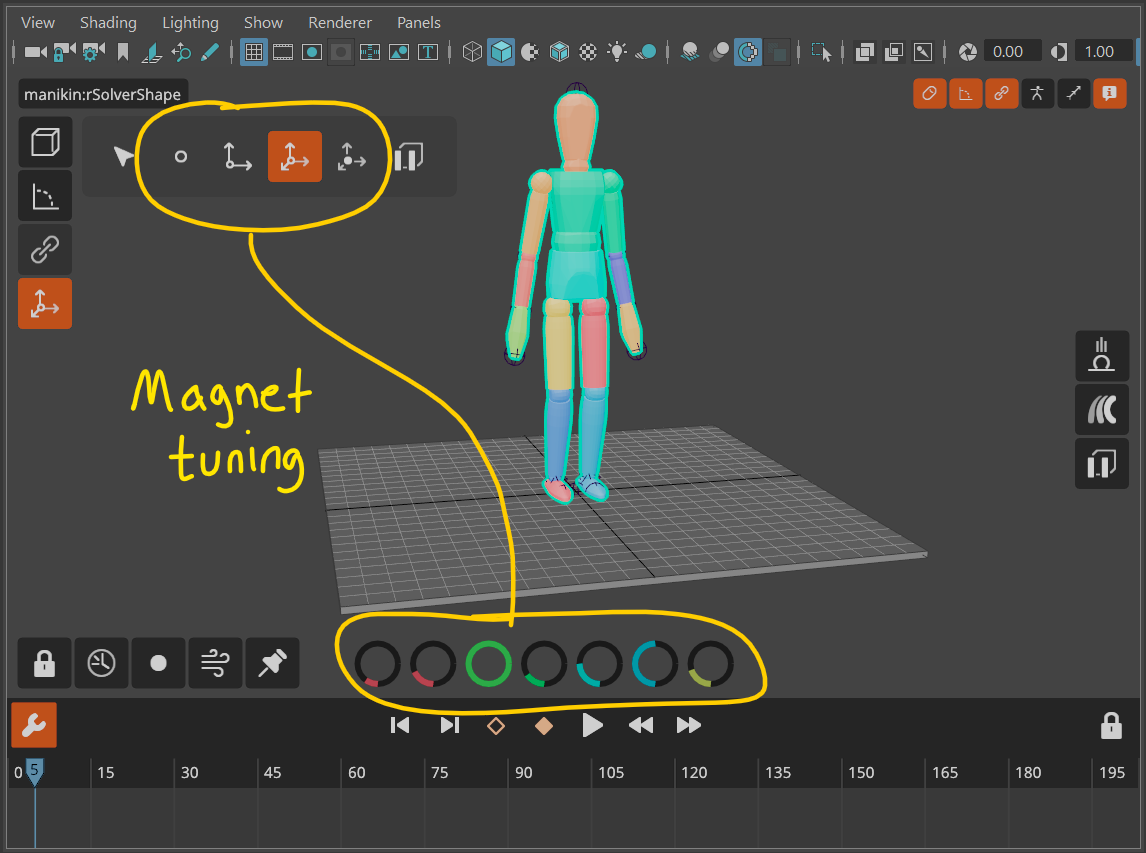
These can also affect the Modifier keys on the right-hand center of the Live Mode UI, such as how strong gravity should be or how tense the character should get when pressing the Tense button.
Include Pin Constraints
In Live Mode, all constraints are disabled. This way, they will not interfere with the primary purpose of Live Mode, which is to pose your character. However, outside of Live Mode, such as in Interactive Mode, it may be useful to keep these active.

See example here
Include Fields
Like Pin Constraints, Fields are disabled in Live Mode per default, but can be re-enabled using this button.

Workflows
These are having a hard time finding a good default or place in the UI. They affect the overall workflow of Live Mode, so play with them but don't put too much faith into them.
| Button | Description |
|---|---|
| Synchronise | Keep the Live Timeline in sync with the Maya timeline |
| Reset on Time Changed | Keep the simulation in sync with the Maya scene whenever time changes |
| Force Viewport Update | Improved interaction when in Interactive Mode |