2024.02.29 - Blender

Today we are pleased to announce Ragdoll for Blender!
Ragdoll is a real-time physics solver for animators originally built for Autodesk Maya and now available to Blender!
Started development in 2021 by animator/programmer Marcus Ottosson, Ragdoll has since been adopted by just about every large visual effects company in the world and several AAA and indie games studios too.
- Weta (e.g. Avatar, Planet of the Apes)
- Double Negative (e.g. Furious X)
- Framestore (e.g. Harry Potter)
- Imageworks (e.g. Spiderverse)
- Digital Domain (e.g. Tron Legacy)
- Kojima Productions (e.g. Death Stranding)
- CD Projekt Red (e.g. Cyberpunk 2077)
- Deck Nine Games (e.g. Life is Strange)
- ... the list goes on!
If you've been to the theatres at any point in the past few years, it is highly likely you've witnessed Ragdoll-powered animations!
Now we're extending the reach of Ragdoll to those outside of the Maya domain, to you lovely bunch in the Blender camp. Our hope is that more animators will be able to benefit from Ragdoll, whilst also encouraging new animators to join the field with access to more tools to help simplify the animation process.
Showcase
Here are some examples of Ragdoll in the wild.
Why Ragdoll?
Character animation is hard.
You've got the techincal barrier of understanding your computer and software, which on its own is hard, but then you've got the artistic choices involved in communicating your story. There are poses and there is timing - critical to any performance. But then you have momentum, contacts and a sense of weight.
Equally critical but boring.
Your audience has a keen eye for things like momentum and contacts, often without realising it. It feels either right or wrong. And it is incredibly hard - as an animator - to get it right.
This is where Ragdoll can help.
Animation is all about breathing life into inanimate objects, but also lifelessness. It's a spectrum, and Ragdoll can almost entirely handle a large part of this spectrum on its own.
0% Life                                                           100% Life
|--------------------------------------------------------------------|
^                                       ^
|                                       |
|=======================================|
                  Ragdoll
In its most simple form, Ragdoll can entirely generate lifeless animation.
With keyframes for input, it can generate semi-lifeless animation.
How does it work?
Ragdoll monitors your animation and provides you with a preview of what it would look like if you let physics take the wheel.
In this example, the blue character is your animation. It's the "guide" for the simulated version of your animation.
Here's what that might look like in practice.
Here's a more elaborate example, animation versus simulation towards the end.
Points of interest.
- Notice how the rhino has a looping animation, that carries through into simulation
- Notice how contacts are handled entirely by Ragdoll
- Notice how simple the animation is!
- Notice how close the simulation is to the animation, you control how much
Getting Started
Ok, with that out of the way, let's get you going with Ragdoll!
Supported Platforms
We aim to get Ragdoll to users on all platforms, the one lagging behind is MacOS due to its recent transition to Metal for rendering into the viewport.
| Blender | Windows | Linux | macOS |
|---|---|---|---|
| 3.4 | ✔️ | ✔️ | ❌ |
| 3.5 | ✔️ | ✔️ | ❌ |
| 3.6 | ✔️ | ✔️ | ❌ |
| 4.0 | ✔️ | ✔️ | ❌ |
MacOS
Tim Apple made it difficult with their transition to Metal, and Blender followed suit with version 3.5. Ragdoll was originally built with OpenGL and DirectX support and it'll take a moment to re-do all of this work (again!) for Metal.
Quickstart
In the Ragdoll menu, load some asset and fool around. 
You can also enter into the "Manipulator" to fool around even more.
Tense
Hold Shift to toggle the "Tense" icon, having the character try to reach its current Blender pose.
First steps
With our beak wet, let's have a look at how this actually works.
Step 1
Make a cube.
Step 2
Assign a "Marker"
Step 3
Record Simulation.
And that's it! You'll now find keyframes on your cube.
Second Steps
With your first steps out of the way, let's have a look at how this applies to a real-world scenario, to achieve this:
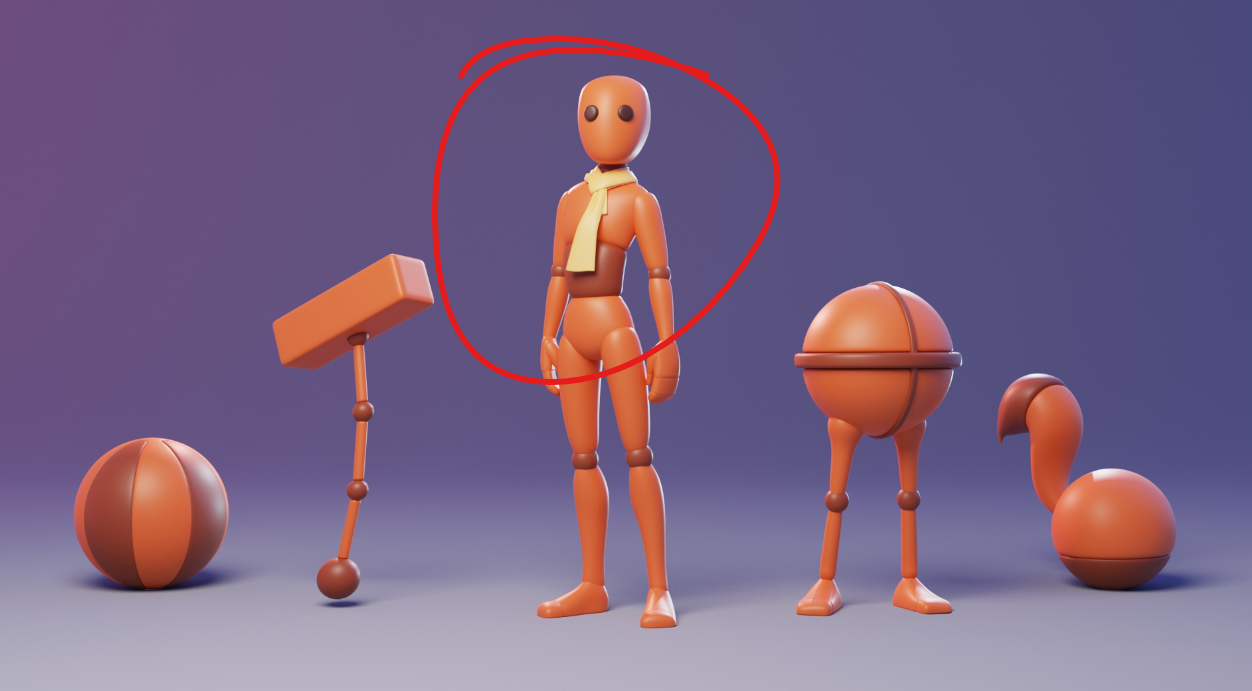
We'll use one of the Animation Fundamental rigs.
Step 1
Once you've loaded your character, you can start assigning to the controls you normally use to animate with.
Step 2
Next, we tune our shapes to better fit our character. This helps distribute mass and make things move more realistically, as though your character was an actual physical being.
In this case, we'll also use some of the meshes of the character directly, as opposed to simple capsules.
Step 3
If your character didn't already have animation, let's add some!
Step 4
Finally, we can record the simulation onto keyframes to witness the result.
Third Steps
Many new concepts in the above few steps, here's a full walkthrough of all steps.
Maya Comparison
If you are already familiar with Ragdoll from Maya, here's what's carried over versus missing so far.
| Feature | Status | Notes |
|---|---|---|
| Solver | ✔️ | |
| Marker | ✔️ | |
| Group | ✔️ | |
| Manipulator | ✔️ | |
| Live Mode | ✔️ | |
| Constraints | ✔️ | |
| Export Physics | ✔️ | |
| Load Physics | ✔️ | |
| Record Simulation | ✔️ | |
| Retargeting | ✔️ | |
| Licencing | ✔️ | |
| Collision Group | ❌ | But you can use Marker's Overlap Group instead |
| Force Fields | ❌ | Coming Soon ™ |
| Snap to Simulation | ✔️ | |
| Import Physics | ❌ | |
| Export Physics | ✔️ | |
| Update Physics | ❌ |
Performance
Ragdoll in Blender runs at 0.6x performance compared to Maya, which is far greater than we'd hoped considering that much of the addon is written in Python whereas the Maya plug-in is entirely written in a compiled language.
Compared to Blender's native physics, the comparison is more difficult because Ragdoll does more than Blender, primarily steering the simulation with your animation. What we do share however is a general simulation of loose objects with a high amount of substeps. In this regard, Ragdoll is both more stable (less explosions) and more accurate (automatically computed mass and center of mass).
In this scenario, ragdoll runs about 30% faster than native Blender physics.
That said, this scene features heavy interpenetrations of objects which require Split Impulse to be enabled (Ragdoll does something similar). Without it, Blender struggles with intersections but runs much faster, on the order of 10x quicker than Ragdoll.
With this in mind, native physics is better suited for large scenes of loose objects, like building destruction and the like.
Open Source
The Blender Addon is licenced under MIT, and so is bpx; the library we developed specifically for Ragdoll. They can both be found on GitHub, here.
Next Steps
You're all set. We'll work towards more tutorials, including how to achieve this effect from Kojima's Death Stranding 2.
See also
- The rest of the documentation, on use the navigation up-top and to the left 👈
- The forums for questions and answers
- Our YouTube channel
Enjoy, and speak soon! :party: