Marker
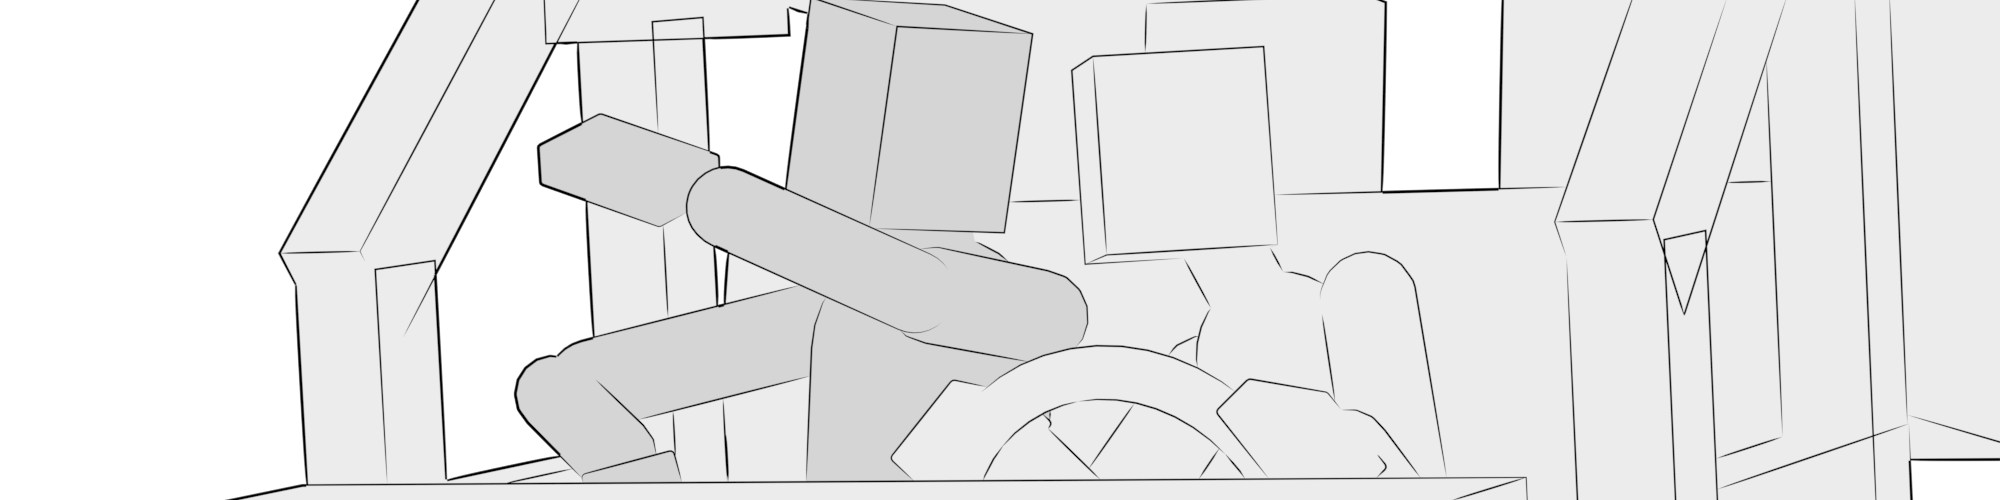
Markers form the fundamental building block of Ragdoll, to achieve Animation Capture a.k.a. "reverse motion capture".
Animation Capture
Capture your character rig, as though it was a live action actor.
Inspired by Motion Capture - Animation Capture is a new way to think about and work with physics in Maya. To learn about it, let's first understand how Motion Capture generally works.
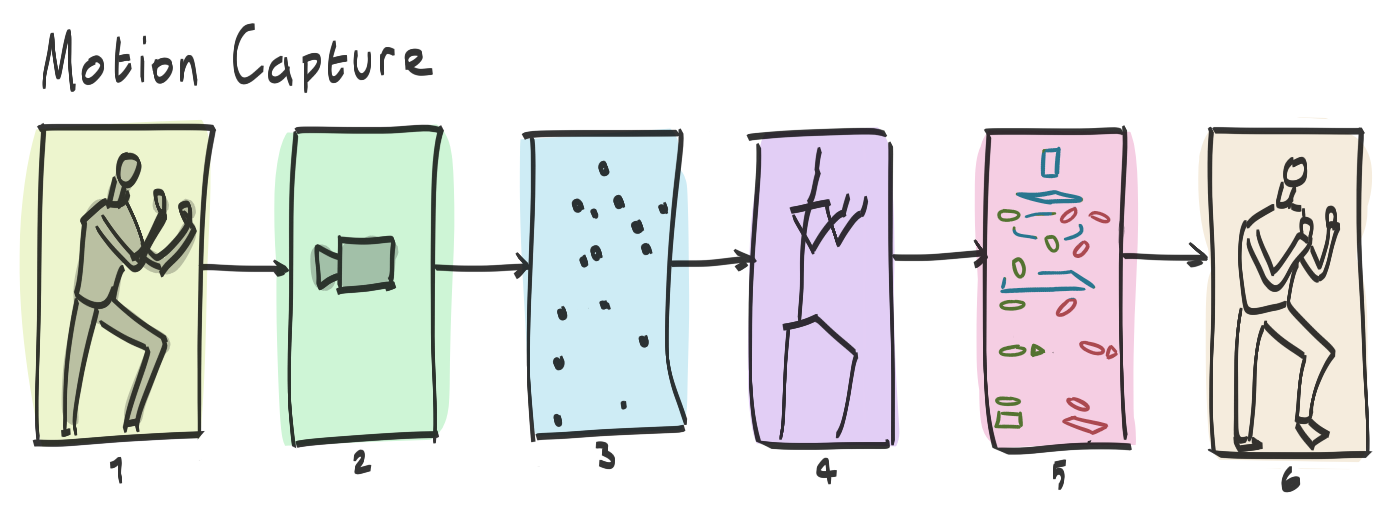
Here is a typical data pipeline for motion capture, from real-life actor to final character animation.
| # | Description |
|---|---|
| 1 | Markers are attached to an actor |
| 2 | Markers are "captured" |
| 3 | A pointcloud is generated |
| 4 | A hierarchy of joints is generated |
| 5 | Joints drive a typical character rig |
| 6 | Rig drives final geometry for render |
Each "Marker" is a dud. Nothing of any complexity. Something for the camera(s) to recognise and track as it moves through space. Once tracked, it's able to translate this Marker from a 2D image into a 3D position, and continues to do so for each Marker. The real processing to take place inside software.
Once the capture is complete, the human actor can remove the markers and go enjoy the rest of their day. The rest is up to the computer.
With 3D positions generated, software takes over to translate these points into a hierarchy; the FK joint hierarchy you may be familiar with if you've ever worked with mocap. The joint hierarchy can then be used to either drive the final geometry, or to drive a more complex character rig which in turn drives the final geometry.
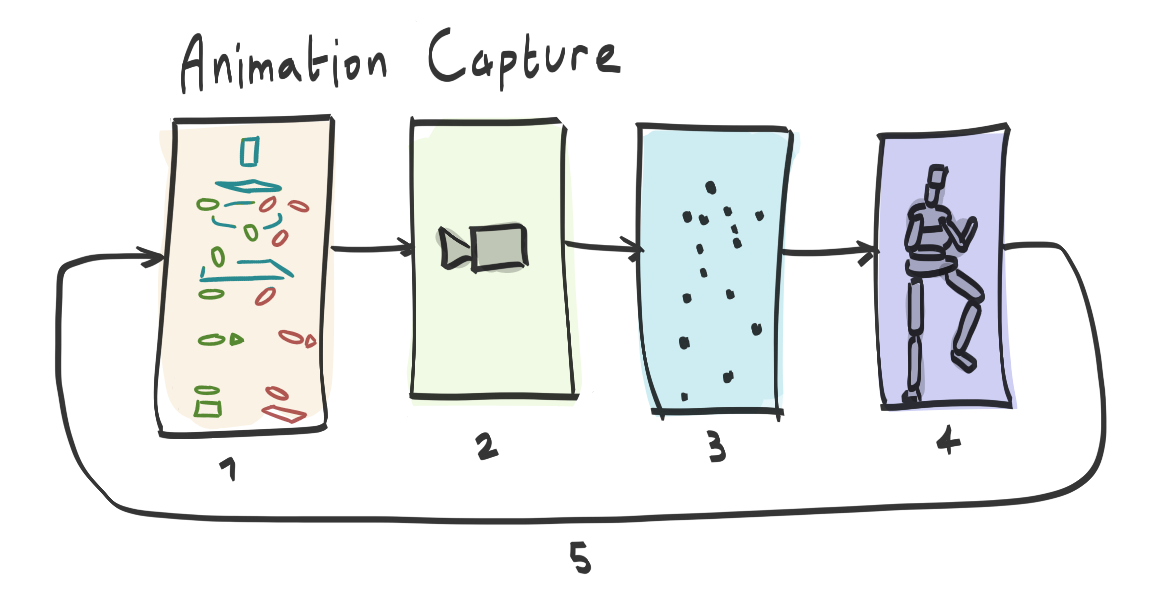
Animation Capture is just like that, but in reverse. Instead of capturing a person, it captures your character rig.
| # | Description |
|---|---|
| 1 | Markers are attached to a character rig |
| 2 | Markers are "captured" |
| 3 | A rigid body is generated for each Marker |
| 4 | A hierarchy of constraints is generated to connect them |
| 5 | Simulation is recorded back onto the original character rig |
Unlike motion capture, we'd like the result mapped back onto our character rig again, which is how animators iterate with physics.
Example 1 - Basics
Here's how to simulate a box.
- Select box
- Run
Assign
Once you're happy with what you see..
- Run
Record Simulation
Example 2 - Ragdoll
Here's how to setup a full Ragdoll.
1. Setup hierarchy
Select controls in the order you'd like them attached.
2. Edit shapes
Fit the shapes to your character model.
3. Record
Once your happy with the way the simulation looks, record it back onto your rig.
Behaviour
The Behaviour is how Ragdoll should interpret the controls you assign. Did you mean for them to remain animated, i.e. Animated? Or should they follow the control around, i.e. Simulated?
The Behaviour can be set either for a whole group of markers, or each Marker individually.
| Type | Description |
|---|---|
| Use Group | Do whatever the group is doing, or Simulated if there is no group |
| Animated | Follow the input exactly, physics need not apply |
| Simulated | Follow the input approximately, with some Stiffness and Damping |
Animated
Follow the input exactly, no exceptions. Not even collisions.
Simulated
Follow the local pose of your animation.
Pose Space
Pose matching happens in either Local or World space.
Look, it's Ragdoll Blaine!
This is an example of Worldspace Pose Stiffness. Ragdoll will try and reach the worldspace position and orientation of your rig, rather than only looking at the relative angles between each limb.
Here's another example of the difference between Local and Worldspace.
Notice how in Local space, the controls arms remain relative the torso. And with World space they instead follow the worldspace orientation of the controls.
This attribute is also animatable, and is how you can transition from animation into simulation and back again.
Here's a more complete example:
| Frame | Transition |
|---|---|
| 100 | Starts as a regular animated character |
| 125 | Transitions into physics as he jumps, for a physically-correct trajectory |
| 155 | Transitions back to animation once he rolls over on that cabinet |
| 160 | Transitions back to physics until he stands up |
| 170 | Transitions back into animation to match an exact pose |
| 200 | Partially transitions into physics, for secondary motion in the upper body as his arm is raised. |
Overlap Group
Specify which markers may overlap rather than collide. This can be useful to enable dense areas of a character, like the clavicles, where there is natural overlap amongst large shapes like with the neck and spine.
| Value | Meaning |
|---|---|
-1 |
No overlap allowed |
0 |
Default, respects self-collision on the group (if any) |
1-255 |
Overlap everything with the same number |
An rdMarker part of a rdGroup can get an overlap group assigned procedurally, based on other members of that group. For example, in a complete ragdoll, all markers are part of the same group. So a Self Collide = On means these will all be given the same overlap group.
If it isn't in a group, then 0 is the same as -1, in that it will collide with everything.
Let's have a look at a few scenarios.
Collide with Everything
In this example, every Marker is part of the same group. The group has Self Collide = Off, which is fine for just about every Marker except the fingers. In that case, we do want self-collision, so they are given the group -1.
Respect Self Collision
In this case, we're happy with a default group of 0 since we don't need anything to self collide. Especially these clavicles that overlap significantly!
Surgical Control
Finally, for the very specific cases of wanting two or more markers to overlap. Notice how we give both the ground and 3 of the boxes an Overlap Group = 5.
Material
Each Marker has a "material" to control how it interacts with other markers.
Mass
How much influence one Marker should have over another during contact.
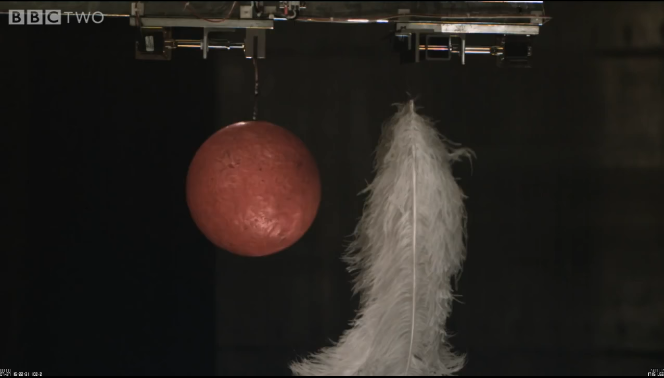
Pro tip 1 - Misconception about Mass
A common misconception in physics is that Mass affects how quickly something falls to the ground. But in Ragdoll - like in real-life - mass is only relevant during interaction with another Marker and when forces are applied, like Guide Strength.
Have a look at this video of a bowling ball falling in a vacuum alongside a feather.
Pro tip 2 - Making something fall faster
So how do you make something fall faster?
- Decrease
Scene Scaleunder the solver node - Increase
Gravity, also under the solver node
To make something "bend" faster, like an arm flexing, that would be controlled via the Guide Strength and typically what causes it to reach a given speed and then stay there is governed by the Rotate Damping. That's how much of any motion should be cancelled out, to stabilise the motion. A very fast motion would have very little damping, but then also run the risk of "overshooting". That is, of passing the point at which you wanted it to reach.
Density
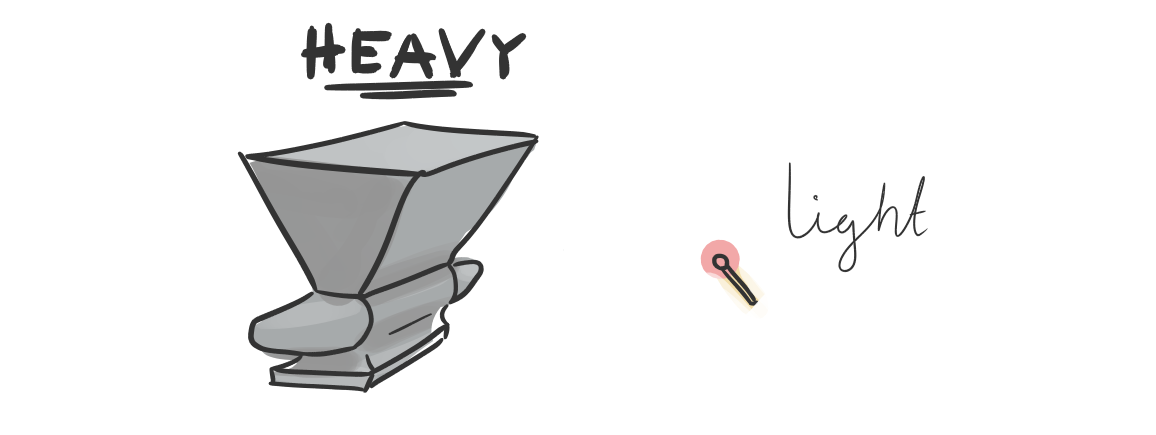
Ragdoll can automatically compute a suitable mass for each Marker, based on the volume of your shape and a density of your choosing.
In other words, big objects become heavy, small objects become light.
Before
After
Presets
Enter any value, or pick one from these pre-defined ones.
| Density | Value | Description |
|---|---|---|
Cotton |
0.05 | Very sparse, 0.05 grams per cubic centimeter |
Wood |
0.2 | Sparse, 0.2 grams per cubic centimeter |
Flesh |
1.0 | Default, 1.0g/cm3 |
Uranium |
19.0 | Dense, 19.0g/cm3 |
Black Hole |
1000.0 | Very, very dense |
Mass is computed based on the volume of your shape, along with a density of your choosing.
Options
Choose between various densities either at creation-time or after creation.
Visualise
The computed mass updates interactively as you change the size and type of your shape, including convex hulls!
In the Manipulator, you'll be able to not only edit the density, but preview the computed mass given the current shape volume and density you provide.
Friction
Control how much resistance should be added between two rigids rubbing against each other.
Bounciness
Control how much rigids should repel each other when coming into contact.
Values beyond 1.0
Here's a tip!
Bounciness can be greater than 1.0, which means they will gain energy during contact.
In practice, energy will always dissipate in some way. The most-bouncy character in the GIF above has a bounciness of 2.0, which in theory means that for every contact it should fly 200% faster away than it did coming in, and keep doing this forever.
Center of Mass
If you try and balance something on your finger, but the "center of mass" is off center, it would fall over.
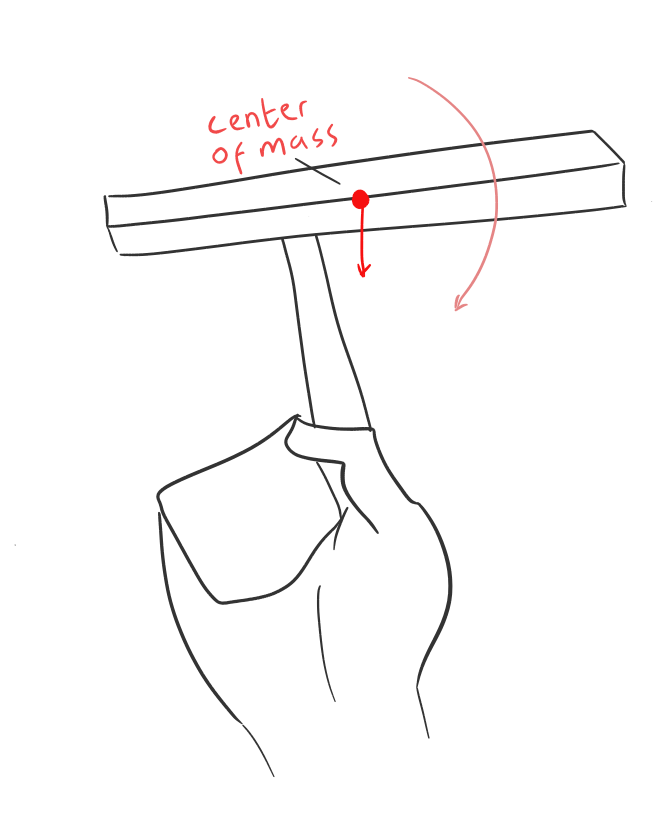
It is the point at which the weight of an object is equal in all directions.
Ragdoll automatically computes this point based on what the shape looks like. For meshes, it will voxelise your geometry to figure out the physically accurate volumetric center of mass, assuming the density of the object is uniform throughout (rather than hollow or variadic, like swiss cheese).
You now override this point using the attribute Center of Mass found under the Advanced tab.
Guidelines
- For realistic results, leave it at
0to compute the point automatically based on the shape - For full control, override it
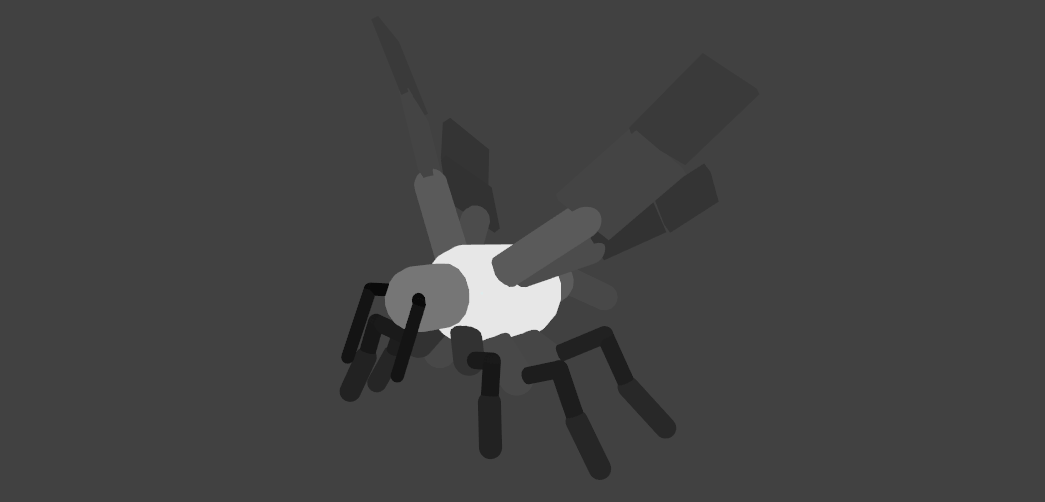
Angular Mass
In real life, if you spin a broom 180 degrees along its length; that's easy. But if you spin it 180 degrees along any other axis, like a ninja, it's considerably heavier.
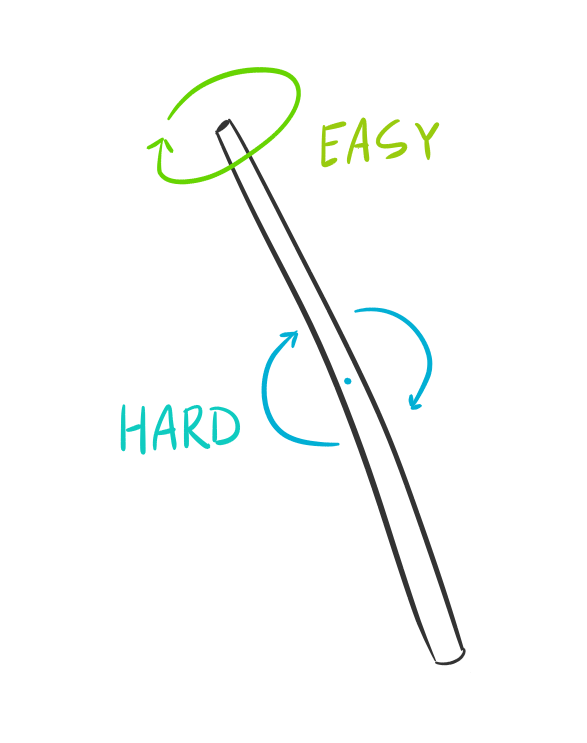
The reason is something called "angular mass", also known as "moment of inertia". It's like mass, but in terms of rotation rather than position. The broom has a low angular mass along its length axis. It takes more force to affect a "heavier" axis than a lighter one which is why a broom spins more easily along its length.
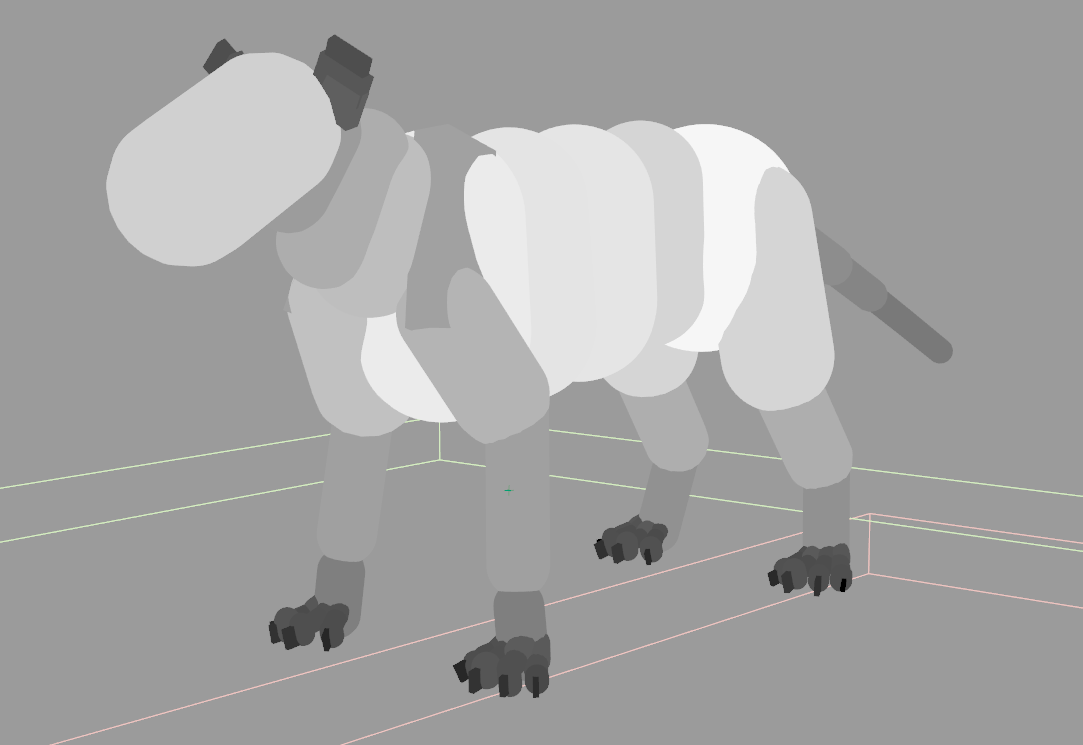
This effect happens in Ragdoll too and is typically automatically computed for you based on the shape you use. If it looks like the broom, it will act like a broom.
With this release, you can now customise this for greater control of your rotations.
When would you want to do that?
- Your shape looks like a broom, but you want it to act like a box
- Your shape doesn't look like a broom, but you would like it to act like one
Or any combination in between. :) Generally, a broom or any thin shape is more easily spun along its length, so you may find stability in setting your angular mass to (1.0, 1.0, 1.0), at the expense of realism.
Guidelines
- For realistic results, leave it at
-1to automatically compute the angular mass - For full control, override it