2026.09.30 - Web
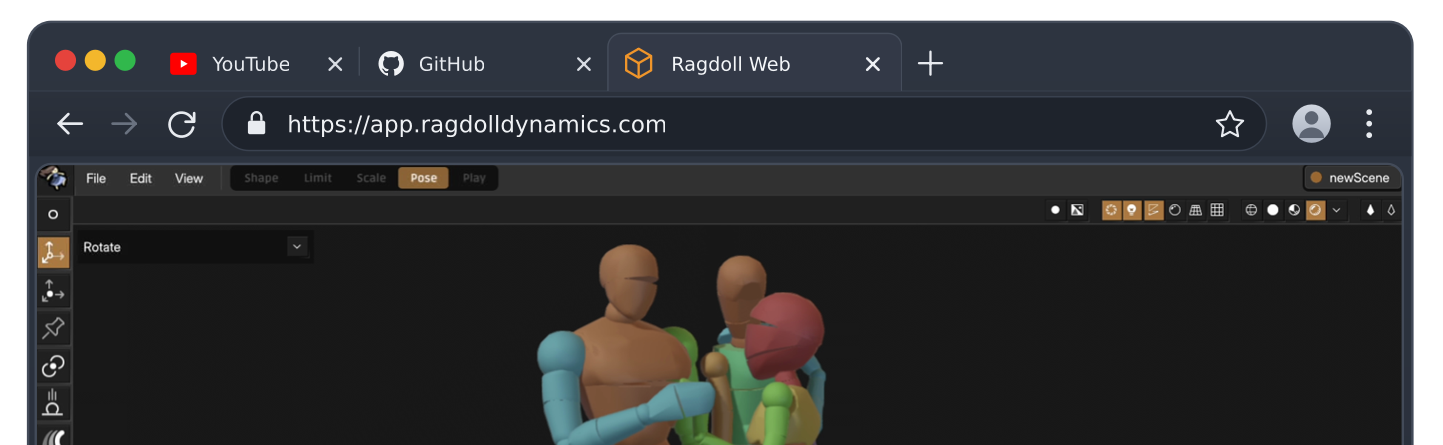
A few minor features with great potential. Designed to make posing even more fun. 🥳
- ADDED User Interface Improvements Same but better
- ADDED Flicking Pose by throwing your characters around
- ADDED Phasing and Resolving Let contacts work for you, not against you
- ADDED Limitless Posing Let limits work for for you too
- ADDED Plasticity Claymation-style posing
- ADDED Pose Library Hotkeys Quickly switch between poses
- ADDED Pivots More control over how limbs respond to your drags
- ADDED Bonus Material Sneak peek at live performance tools
User Interface Improvements
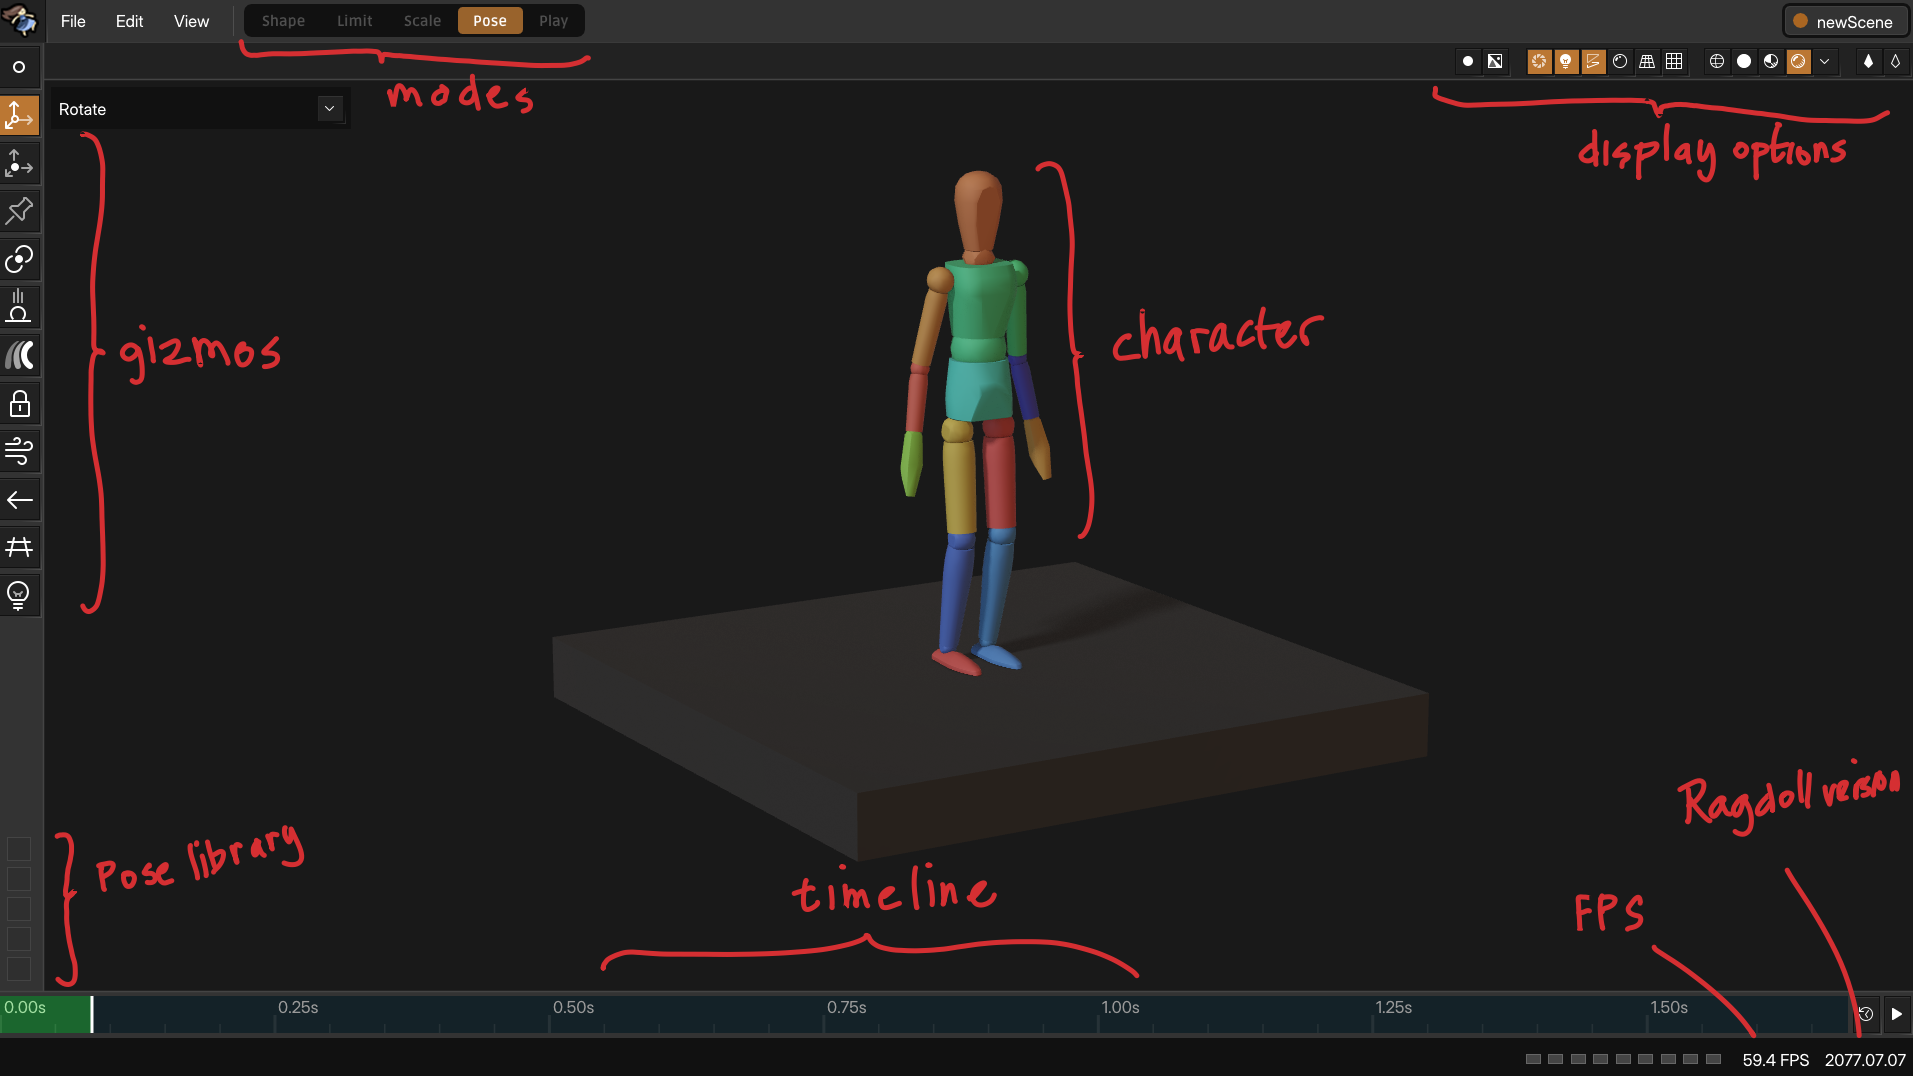
The user interface has seen some improvements to make it easier to read, easier on the eyes and just more pretty in general.
For future reference, here's what it used to look like.
Flicking
Flick your characters, limbs and props. 
Toggle the "Flicking" option on your gizmo and the velocity of the character as you let go of your drag is preserved for a short while, letting the pose ease into its final position. Contacts, limits and masks are still in place.
Phasing and Resolving
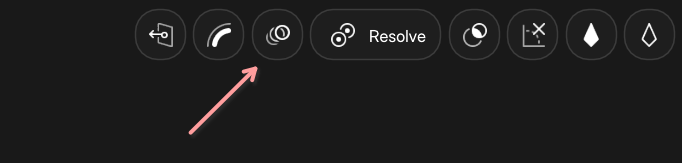
Sometimes, contacts become an obstacle and what you really want is for limbs to intersect.
Hotkeys
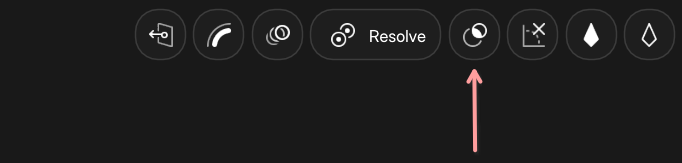
R- For "Resolve". Hold to gently separate intersecting limbs.CTRL+R- Toggle phasing on and off.
Some more examples.
Posing fingers can be especially tricky with contacts enabled, resolve establishes a new kind of workflow here.
Limitless Posing
Like contacts, limits can sometimes become an obstacle and can now be temporarily turned off while posing.
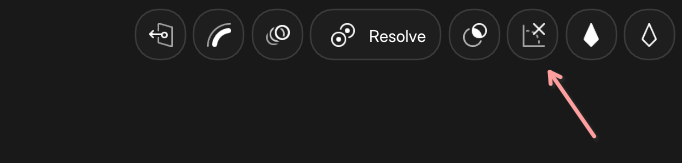
Locked Limits
Any locked limit is preserved, such that e.g. elbows and knees continue to bend along their natural axis.
Useful when, for example, you want poses that the limits of your character does not natively support.
Re-enable
Take care not to re-enable limits whilst limbs are outside of them. As Ragdoll will then attempt to rapidly restore limbs into their limits.
Plasticity
Turn your character into a clay figure and have limbs resist change as you pose.
Subtle
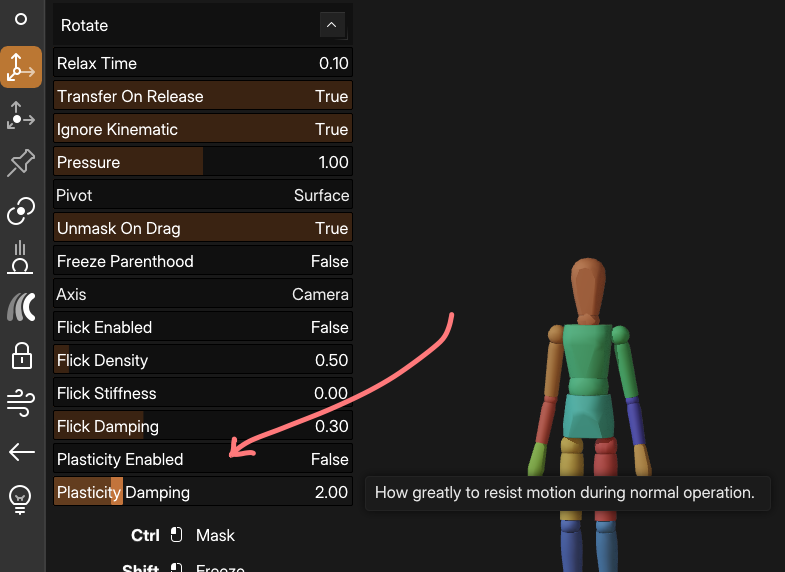
Hard to see, easy to feel. Your character will feel more stuck-together and cohesive as you pose, and less like a metal chain. This may become the new default moving forward, but for now it is an opt-in.
Control the amount of resistance via the "Plasticity Damping" value here.
Background
The term "plasticity" is a physical term meaning "deformations that do not return to their original shape". A spring for example has very little plasticity, and thus returns fully to its original shape once forces are gone. Clay on the other hand has a high plasticity and sticks to whatever deformation you leave it in.
Pose Library Hotkeys
You can now quickly switch between stored poses using the numeric keypads on your keyboard.
Hotkeys
These are the ones on your numeric keyboard, on the right-hand side of your keyboard.
| Key | Pose |
|---|---|
NUM 0 |
First slot |
NUM 1 |
Second slot |
NUM ... |
And so on |
Pivots
Middle-click dragging on the canvas translates the currently selected limb, from its center of mass.
You can now choose between 4 different pivots to best suit the pose you are striving for.
| Pivot | Description |
|---|---|
| Surface (default) | Drag from the surface of an object |
| Center of Mass | Move without twisting |
| Centerline | Rotate without twisting |
| Joint | Drag along the rotate pivot |
Surface
The default, you drag where you press, on the surface of an object.
Center of Mass
Typically, dragging on any limb causes both a translation and rotation because you apply a force at one point, and Ragdoll applies the opposite force someplace else.

The center of mass pivot places your drag at the exact center of mass, resulting in no added rotation. Unless of course, there was a third force.
Centerline
Drag along the length of a limb, such that it does not incur any twist.
Joint
The final pivot is no pivot. As in, the force is applied at the logical rotation pivot of your character, where you would typically rotate it in a normal DCC like Maya or Blender.
Useful for.. maybe puppeteering? 
Bonus Material
This release is about polish and refinement of posing tools, after which we'll be working on keyframing tools and then live performance tools. But because the technical barrier between posing and recording is very small, we figure we'd unlock just a bit of it to give you this interesting phenomenon. 
Trim Ahead
Here's the 20 seconds it took to make this walk cycle.
Here's how it works.
- Turn off "Trim Ahead"
- Drag to pose
- Rewind
- Repeat from step 2
It also applies to when the simulation is running, with gravity. For a proper puppeteering feel.
Hint
Use the middle-mouse button to drag on the currently selected limb. To avoid having to catch it while moving.
Interactive Pose Library
Poses apply during simulation as well, giving you this level of interactive control.
Maya
For Maya users, all of the above also applies! Plus, these quality of life improvements.
User Interface Enhancements
All of the above applies to Maya as well, plus the "Pin Mode" behaviour from the last release now only applies to Pose Mode.
Selectable Pin Constraints
For Maya users, all of the above also applies, plus pin constraints now being natively selectable!
Like before, they take selection priority such that when you drag over all pins and joint and meshes the pins are what get selected.
Disable Collision
Attach Constraints now have the option to not disable contacts between two attached Markers.
Next Up
We're working on keyframing as we speak. It will be a "stop motion with benefits" kind of suite, the simplicity of straight-ahead, stop motion animation with the advantages of digital media, and of course physics.
Stay tuned.